Richard, you are a legend ! It's that simple. Just as I'm preparing the ute for Old Bar kombi count it starts to send me a whining noise from the gb. Also when on deceleration it starts to shudder. ...
On w/end will drive down anyway.....just wish me luck please...Hart
Sent from my Samsung Galaxy smartphone.
From: "cathrich1@yahoo.com.au [Syncro_T3_Australia]" <Syncro_T3_Australia@yahoogroups.com>
Hi all,
Too many late nights, but the engine is almost ready to fill with fluids and check for leaks.
Seems like a never ending job, and taken a few weeks longer than originally anticipated. That said I have done many little things not expected in the beginning.
Just a few pictures for your interest (just some random ones), comments below
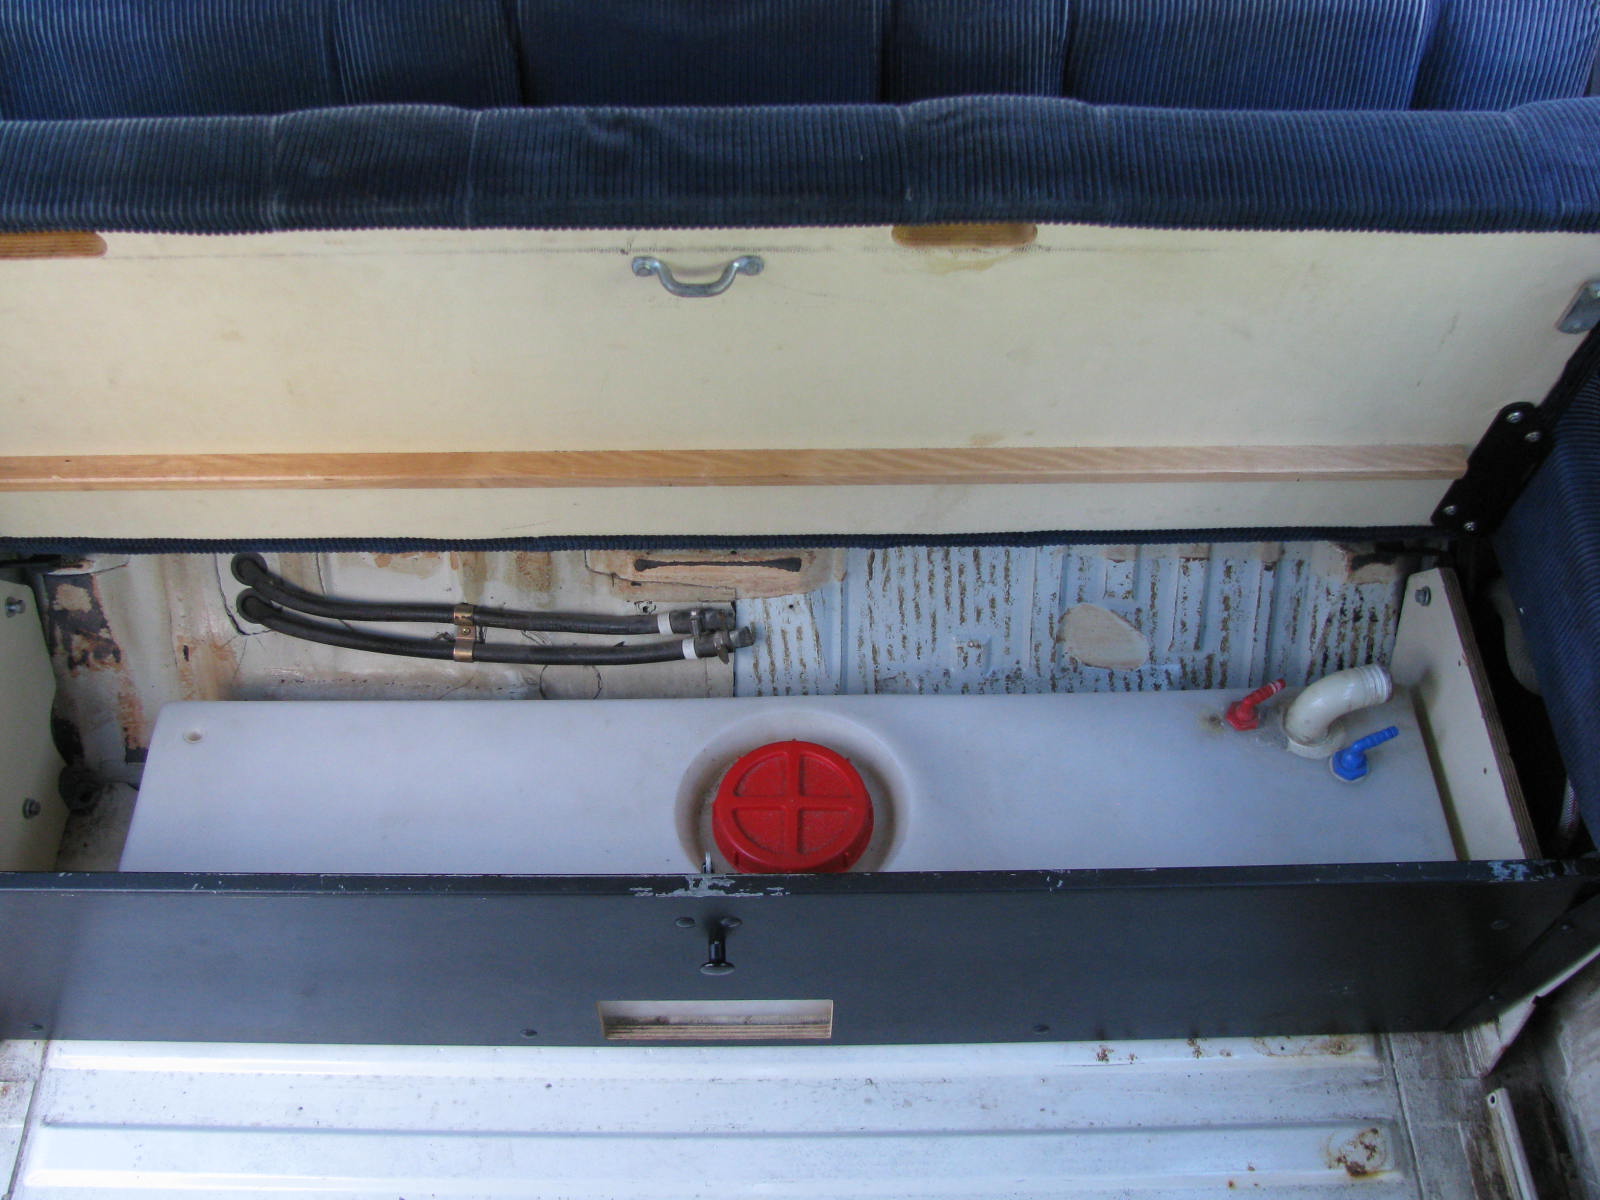
The fuel tank sender, mine was all nice and clean, inside and out, even the seal (outside) looked fine, so was thinking why upset the inside seal if it's all good and firmly mounted. In the end I figured I had the seals, best to put them in. Glad I did.
The outside seal was fine and still in good condition, the inside one however was falling apart, and some rust just starting between the inside seal and the inner edge of the plate with the studs! I was quite surprised as everything else looked great.
Notch in the bash plate, just enough to drain the GB oil without removing the sub frame. It also give access to a removable wading plug I put in the bell housing. I figured with it all sealed up, you have no way of knowing if a seal is on the way out. now
I have a removable plug to check :)
Anyone who used the fuel line that came with the desert fox fuel tank, keep an eye on the hose! I have replaced mine already. Mostly as I had the tank out, but the large hose was already showing signs of aging!
Anyone with power steering, check the power steering lines where the RH hand brake cable runs over it, it rubs at this spot (have read of this rubbing through for some people). I have put some protective tape over it.
Tank straps, I found some dirt build up in there, so added a few extra drain holes. Luckily no rust at all on mine.
Even fitted a new fill hose. Not a fun job, not nowhere near as hard as putting the fuel tank back in!!
GoWesty coolant pipe savers installed (thanks Colin!)
New seals on the flywheel. Clutch all looked good on the pressure plate and friction plate, but there is some wear showing on the fingers (where the throw out bearing contacts). New throw out bearing and pilot bearing (with seal) in
Alternator and water pump protectors fitted. One nut (under water pump) I fitted an extended length nut, made getting it tight much easier!
All new fuel lines on the engine also. They actually looked quite good, so must have been replaced at some stage in it's life.
New hoses run on the tank. Worth noting, not only were the seal shot on the breather check valves, one of the check valves was stuck closed, the other stuck open!!
New charcoal canister. factory VW, but made in china, so I will rebuild my old one at some stage. These are designed to not need an inlet pipe, I adapted the inlet down to a hose size, and ran the inlet back into the engine bay. I was thinking of connecting
it into the air cleaner, but decided in the end to let it suck air through a separate inline filter. Will be easy to monitor how it goes, but a lot better than sucking air from the wheel well.
Managed to get some OK shots inside the tank, this one is the screen
Heater installed!! Have yet to wire it all up electrically, so that will be a future job. Cables are run to the dash so far.
Hole in push rod covers to drain coolant
Richard