Leon's Syncro build thread

Hi there folks.

I thought it best to start a build thread on this 1990 ex Telsta Syncro i acquired from a deceased distant family member.

I thought this might be a reasonably quick and easy project as she is almost 100% rust free.
Oh how wrong I was.

After an hour of drivers door latch disassembly and WD40 I was able to close the door.
Then i focused on seeing if i could get it running.
My father in law had already charged up the dual batteries but had no luck strating it, wouldn’t even crank over.

I did all the usual checks, oil, water, air cleaner. Everything looked complete.

Before I even tried the key, I had a look at the battery terminals and they both have isolator screws on the negative terminal, so I gave them a tighten and that must have been what stopped my father in law.

After a longish amount of cranking she eventually fired up and went into a high idle, with a lifter tick and a soft backfire at idle and low rpm. The lifter tick went away after a few minutes but the backfire continued, my guess was a burnt exhaust valve.

After a few drives up and down the driveway, then the street. I deemed it sturdy enough to attempt the 90km drive home with my father in law following behind.

The gear stick was very difficult to move and I made a mental note to order new shift rod bushes.

At some point I noticed the speedo wasn’t working, so I had my phone on for speed, but I shouldn’t have worried, these things have low gears eh? I dont think I got over 85kph on the freeway as I babied her home.

Shortly before the turn off freeway an alarm buzzer went off with a flashing red LED.
So I pulled over and shut her off.
A quick search online indicated low oil preasure at slow cruise.
But the aftermarket oil preasure gauge seemed to be functioning and I opted to limp on home.
Thinking I was likely going to be doing some sort of engine work anyway with the suspect burnt valve which may have cleared itself up by this point, but the buzzer was the only thing I could hear.

Over the next few days I started researching and inspecting the various issues.
I inspected the shift rod bushes and they apeared to be pretty fresh, turned out the plates that hold the bust at the tranaxle were both on the same side of the mounting bracket and were squishing the bush onto the rod without the space of the mount between them.
Easy victory.
Next was the speedo, speedo cable was unplugged from speedo, nope, didn’t fix it, maybe it’s broken… let’s have a look at the other end… hey, where’s the front diff? And CV axles and prop shaft? How did I not notice them missing while working on the shift rod bush?
As some of you will already know, I’ve been trying to track down a front diff.

My aim upto this point was to get her fixed up enough for a roadworthy and club registration.
Deal with an engine rebuild or Subie swap later.

The more I researched, the more I realised how much of a short production run these quirky VW’s had. And how rear NOS parts are.
Coming from the air cooled VW scene, parts are pretty easy to get hold of.

Lucky there are many passionate and helpful enthusiasts out there. A big thanks to those on here who have already offered advice and answered questions.

Last weekend I was lucky enough to get back to her original home and a search of the garden shed revealed the front diff all wrapped up in plastic, the prop shaft, mounting cradles with hardware, even the rest of the CV axles after they were taken apart to make front hubs.

I didn’t fancy trying to put CV’s back together, so I ordered what appear to be the last pair of front VC axles in Australia at the moment. 2 days from QLD is pretty good.

I resisted the urge to just bolt it all up and hope for the best.
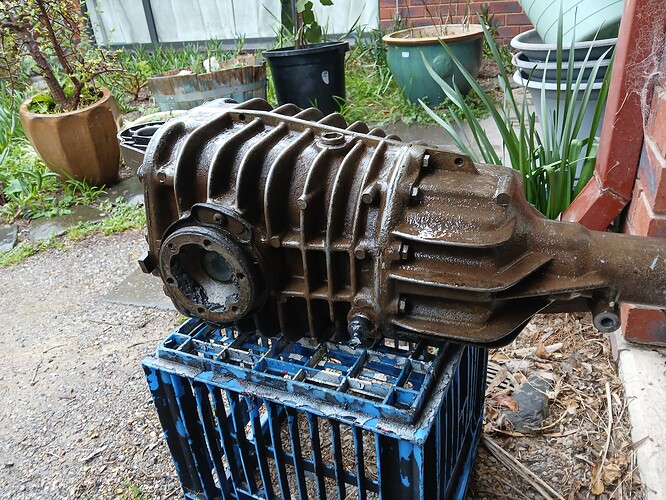
I started cleaning up the diff with the intention of at least changing the oil.
By this point I was pretty sure the Viscous Coupling wasnt working, as the input shaft span freely by hand and transferred nothing to the final drive. Also, why else would someone remove the front diff and convert to 2wd?

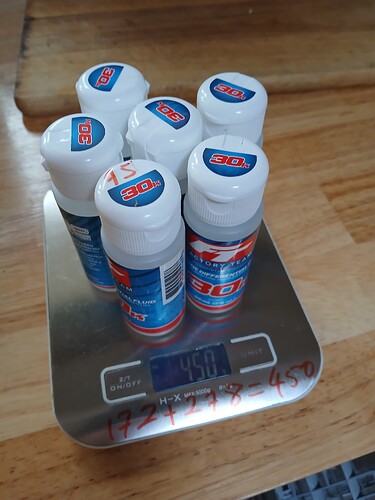
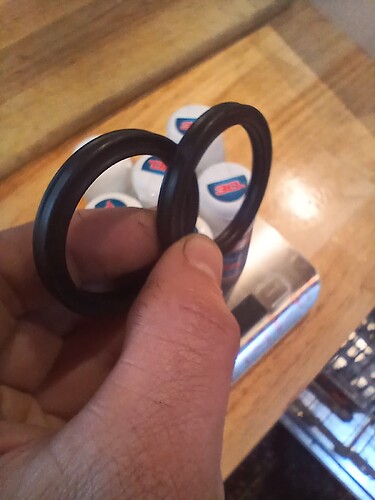
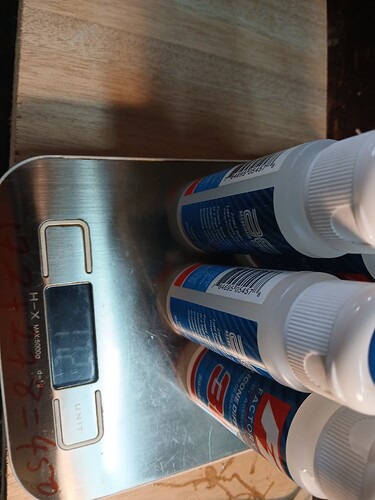
My thinking at this point was to try to identify and track down the shaft seals for the VC and some of this magical silicone fluid and hopefully someone would be able to tell me how much air gap to leave.

Now I have to learn how to upload photos again…
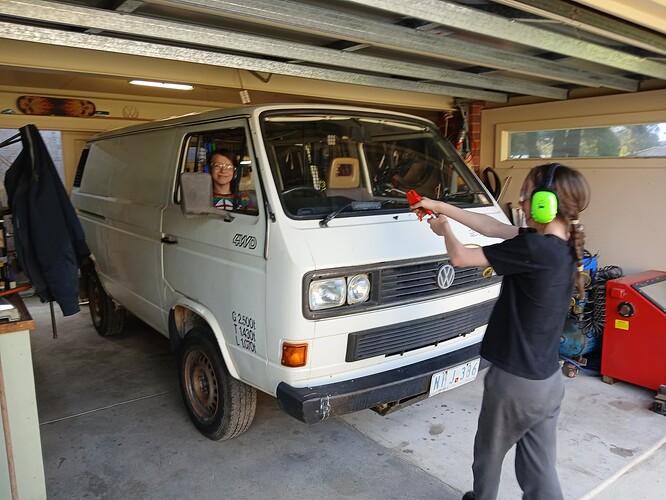
1 Like

Hmmm, I keep getting, Unable to complete previous action due to low memory. When I try to upload photos. I tried with fewer and fewer photos, and my phone has plenty of space left.

So I think I must have filler the forum server with all my words, sorry about that.

Photos to follow, maybe

Welcome to the forum Sounds like a fun journey so far and you have learnt a lot in a short period! They are fun machines, but yes take up a lot of time and patience to get on the road and keep on the road!
I think most people have or have had old VW’s prior, myself included!
It certainly sounds like you are handy with the spanners and able to get things fixed. A good skill with these old van’s.

I’m not sure if there is data regarding the air gap, but I do know there are a few topics on the Samba with people trying to do their own, worth having a look. There were some articles on a UK forum, but can’t remember which sorry.
Parts are definitely hard to get, and also quality can be questionable, I recently installed a good brand thermostat only to find it was opening ~7deg later than it should.

Have a look at the brand on the axles. there are Chinese reproductions being sold which do not get good reviews. For you they are fine to get you going, but would not rely on them if you start to do travelling and off road in the van.

With the photo’s, it could be the actual file size of the photo if you can reduce them in size and try again.

Love your passion for these old money pits.

I have 3 T3s at the moment - two are great (my syncro and my 2wd auto) but my 2wd manual needs some love.

That buzzer of doom got me today.

Never came on before I pulled the motor and just did a cosmetic tidy up, yet today it drove me nuts. It runs quietly (no chatter from lifters which will always happen when oil pressure is low), and the oil level is just above full.

I tried another buzzer computer but that produced the same result.

I looked at the wires from the two sensors and a couple had burn marks (they do rest on the engine in a couple of places) so I cut and rejoined those points - still the buzzer continues.

Basically, I got sick of it and unplugged the buzzer and flashing light!

Engine runs fine so I will have to live with that unplugged warning system. It is prone to failure.

Best of luck with the rest of yours.

Maybe try uploading from your computer - you can only load 5 photos per post.

Cheers,

Scott


I got a couple of photos to load from my phone one at a time, can’t work out how to make them smaller. I’ll try from PC tomorrow as the one i want to put up are too big.

I went as far as buying an oil pressure tester so
I could verify the after market gauge readings and I’m happy it’s the buzzer or the wiring to it that are the issue and have already pulled the little buzzer curcuit board.

The oil preasure sensor has had the remote loaction thing installed thankfully And I found 2 spare used sensors in the tool kit, one of each type.

I’m thinking it’s a dodgy wire because occasionally the aftermarket gauge flutters at a steady rpm, but the machanical tester was rock solid.

I also replacement the IAC valve to see if I could improve the idle. It was idling steady then would dip and and try to recover then die.
Some improvement but not fantastic. I think the throttle shaft bushes may be a little worn.
But for now it will idle on petrol or LPG without dying.

1 Like


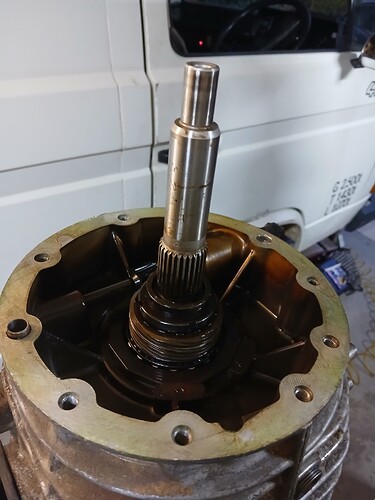
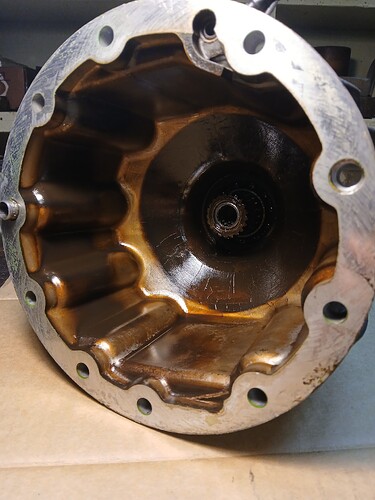
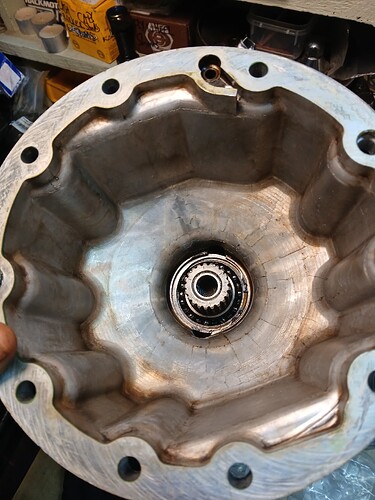
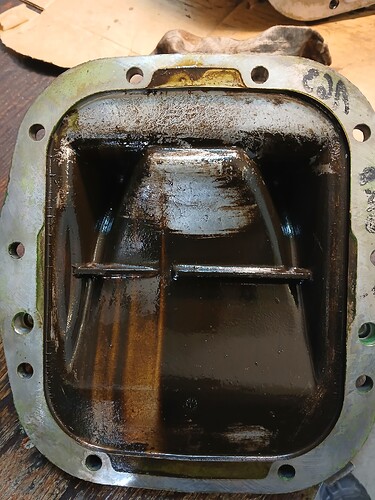
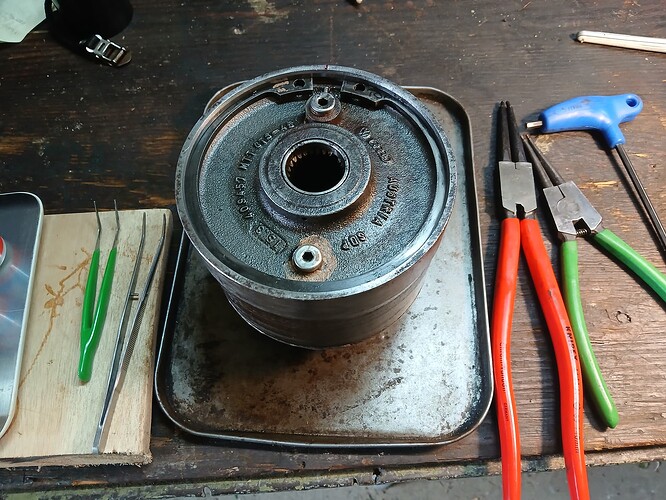
Opened up to inspect the VC…

No VC

Gave the inside a wipe out and called my father in law, see if he can find it in the shed before the house is sold…


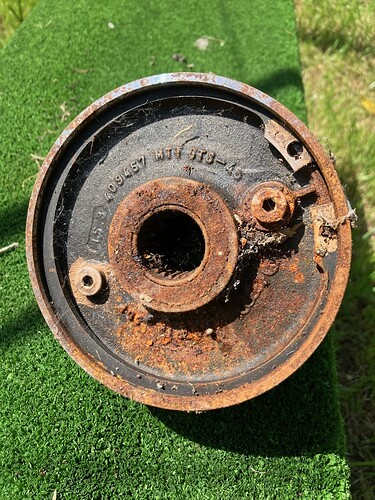
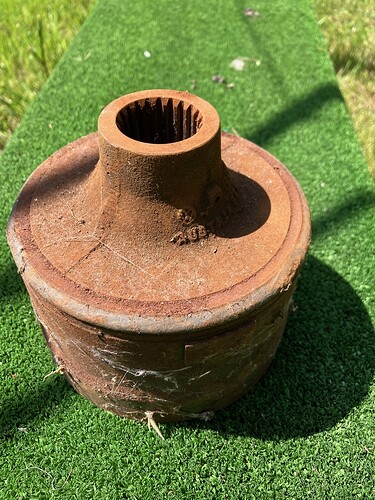
Huzzar, we found the VC, doesn’t look too flash at all. I’ll pick it up tomorrow and see what it looks like after a clean up.

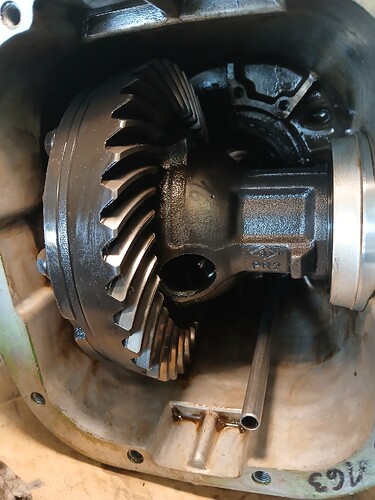
Thought I better check the diff, make sure there’s no suprises in there.

2 Likes

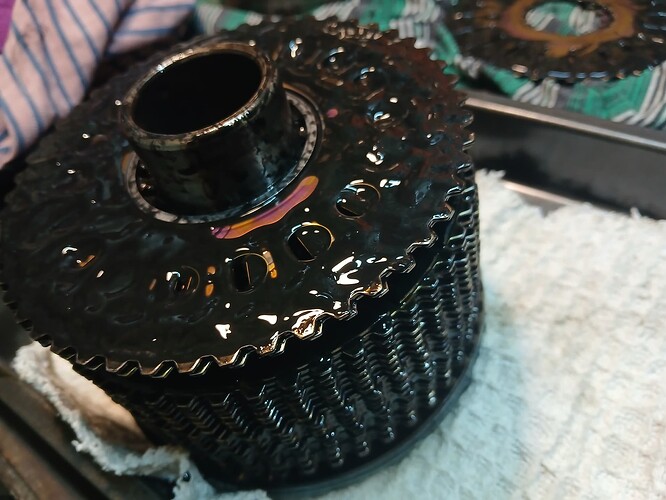
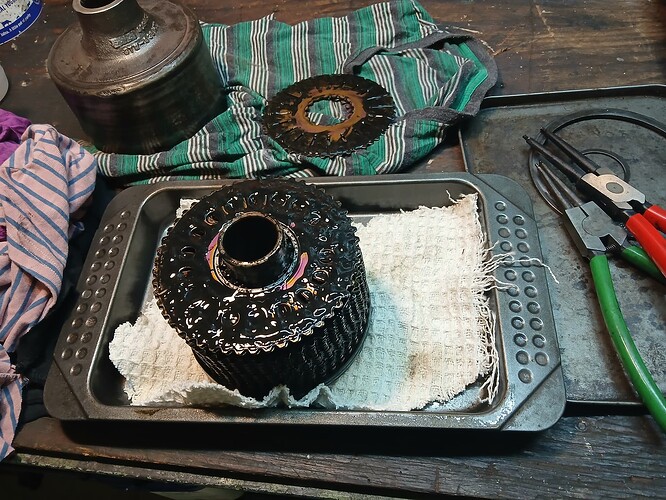
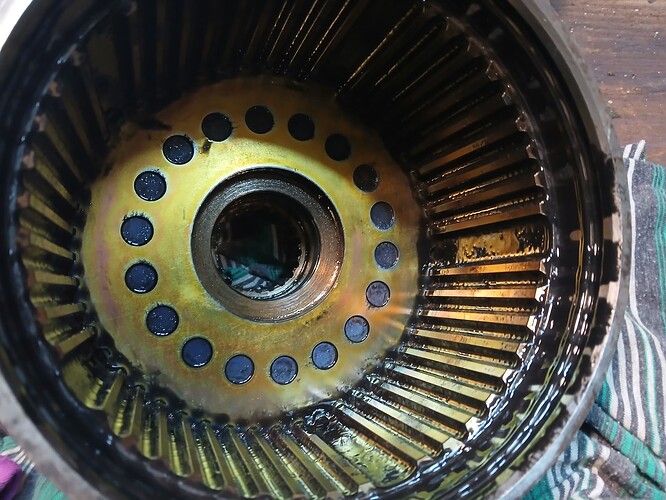
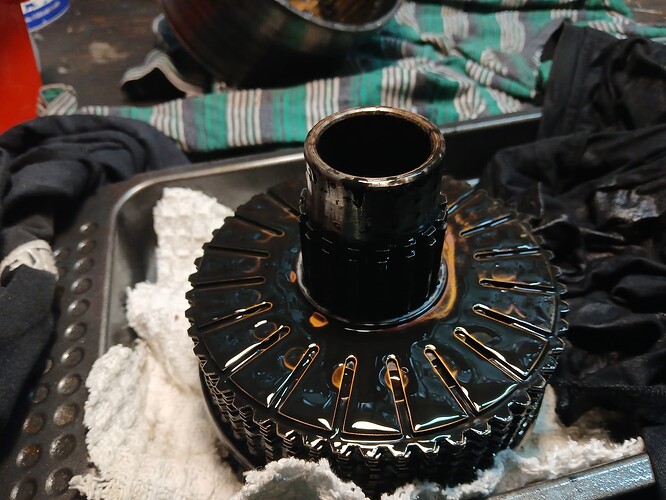
Well this is up there with the nastiest messy tear downs I’ve ever done.
1 photo at a time sometimes works.

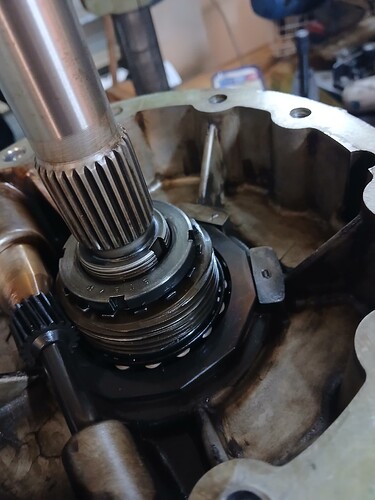
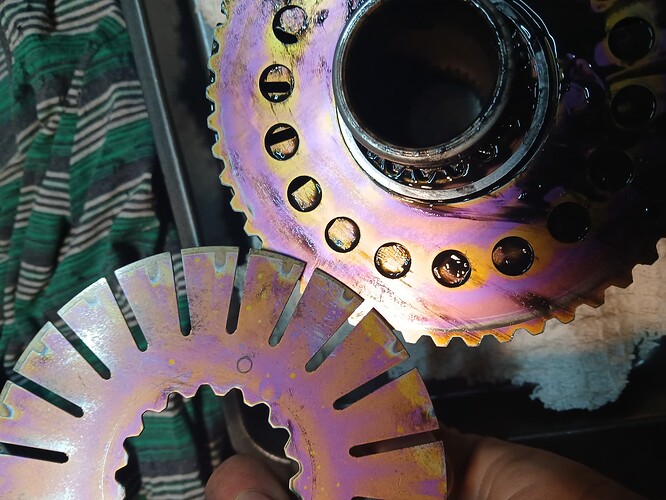
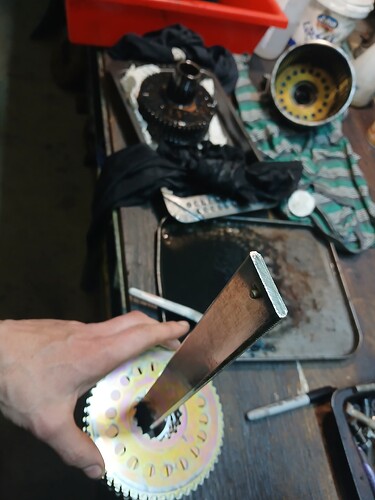
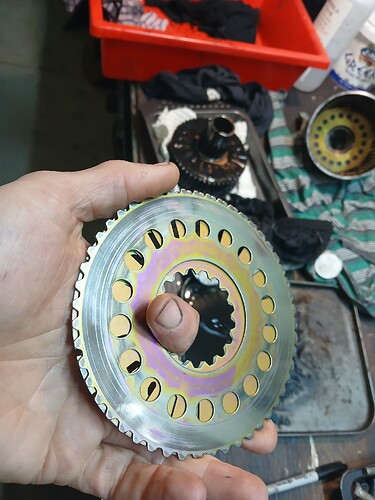
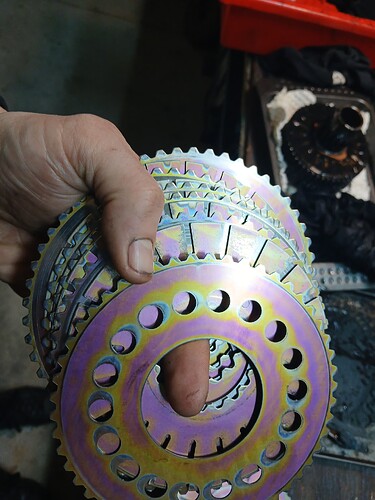
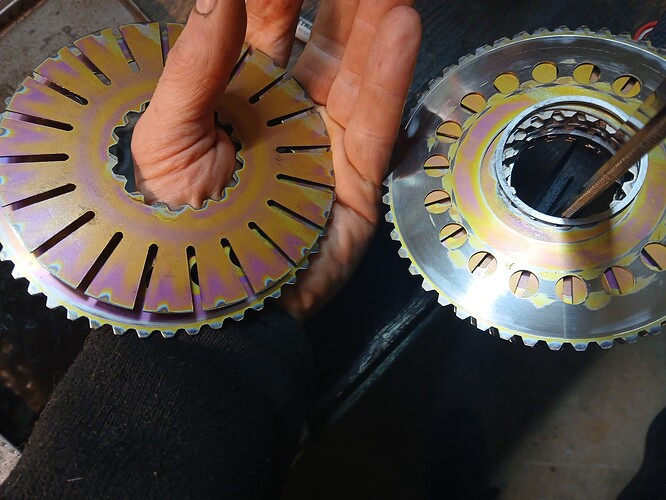
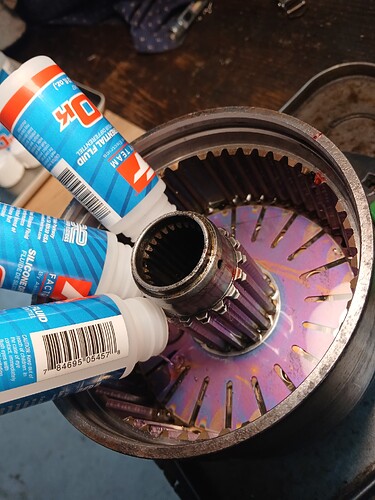
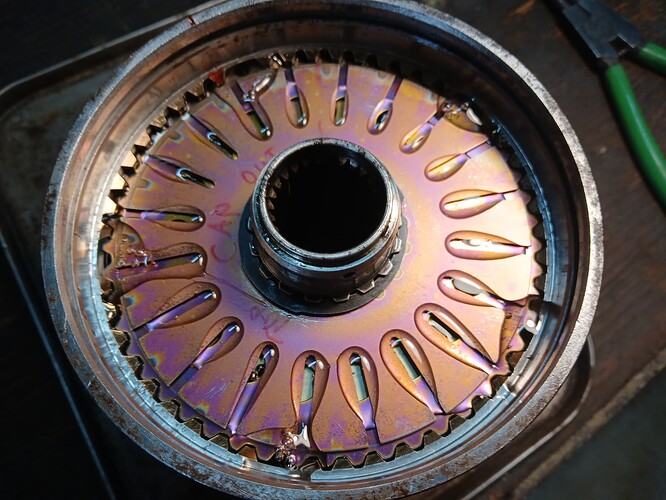
Pulled a couple of plates off and after a preliminary clean, they look pretty good.

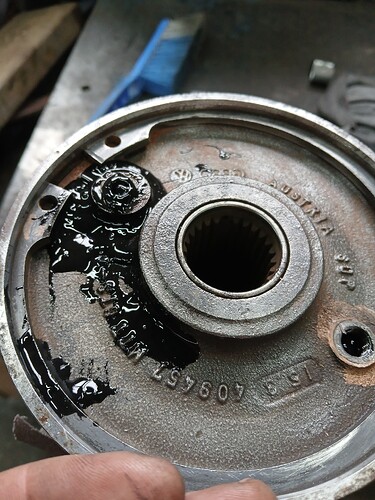
I’m guessing this is what the silicon fluid looks like after 150k plus driving and/or after pulling gearbox oil past worn seals. Delightful stuff.

The fluid was under pressure when I released the fill screw.

I ended up using compressed air to lift the face plate off.

1 Like

More photos to come when it is all clean.

1 Like

Well I tore a glove, so I stopped for photos.

Some of the discs deeper in the pack have some polishing, but no scoring yet.


2 Likes

Wow, you really have gotten into this build! Glad to see the front diff otherwise looks in good condition, great work!
Yes the VC looks a mess, but seems to be cleaning up nicely. I’ve never had one apart, but I do think they can still pull old oil in, even if they are under pressure like you noted. Was there any air inside or just the gooey mess leaking out?

The idling issue could be a vacuum leak somewhere, there are plenty of potential leak points in a T3 with vacuum hoses, brake booster hose, and all the intake joints, particularly around the plenum and throttle body. Yes the throttle shafts are prone to wear and leaking, but this is more likely to affect the air fuel mix (more air than the air flow meter measures), and less likely to affect vacuum.
Check the throttle shaft for vertical movement? If it has that, it will through the whole metering system out.
Keep up the great work!